1.Process brief
It only takes three steps: Set products, Start Shoot, Save.
Standard 3D display animation:
2.Making process
Ⅰ.Set product
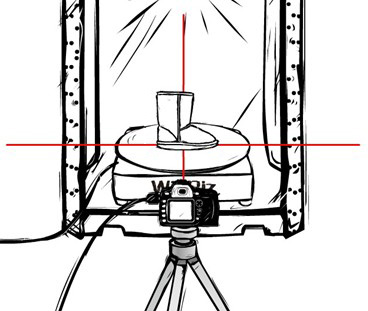
Firstly,it requires setting products in the centre of turntable.
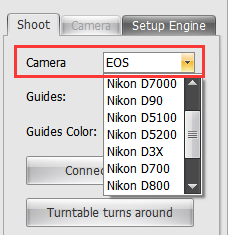
Then open the camera and 3D software, find your camera model in the software. (Canon camera selection [EOS], Nikon camera to choose the specific models)
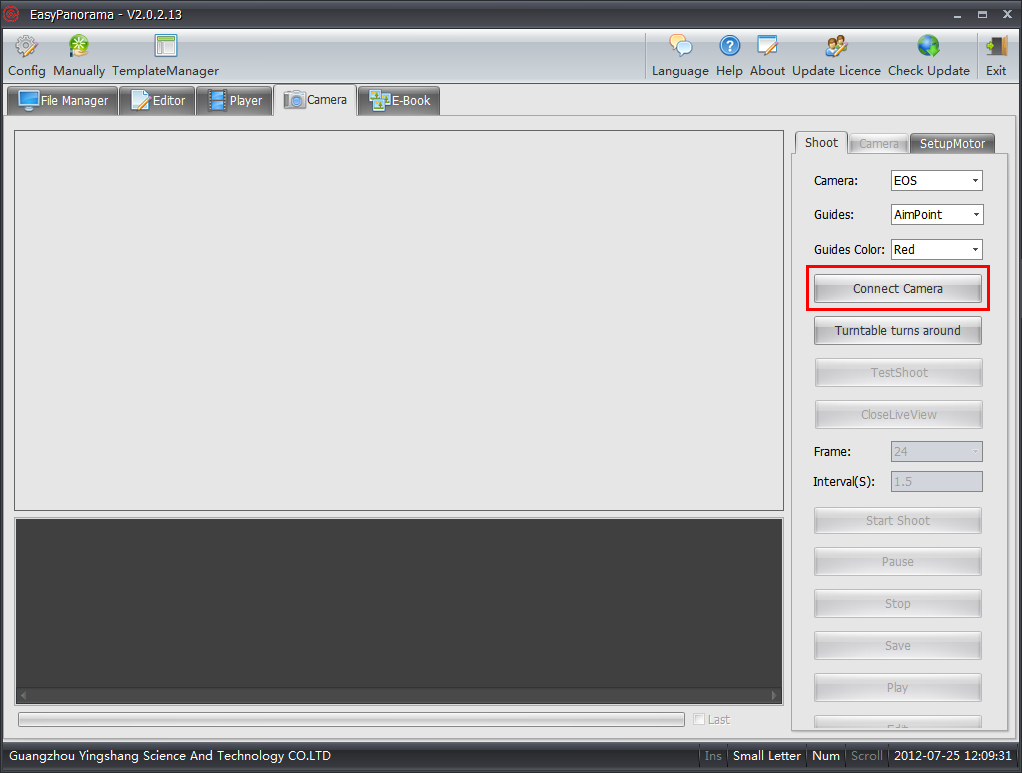
Then click "Connect Camera".
![]()
The centre of Live view area will display current live view picture after connecting the software to the camera.
If you find out the images doesn't display clearly,don't worry,3D automantic imaging software offer focusing fuction ,you can refer to "Foucus Module".
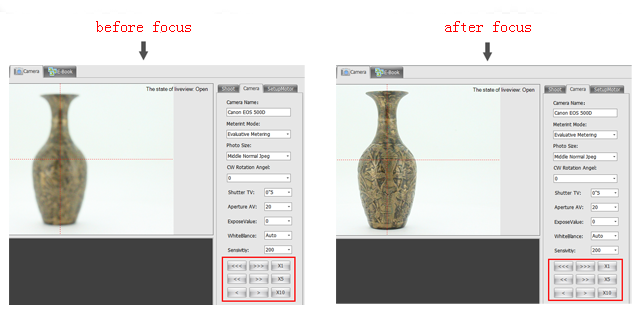
It also offers aperture and shutter etc. parameters adjusting in the "Camera Setting", you can see the effect of bright and dark before adjusting and after adjusting in the software .
Ⅱ.Start Shoot
Click the "start shoot", the software will automatically control the camera shooting. Part camera shooting failure is due to the shooting in live view, this time just click "Colse Live View" before shooting( such as EOS 550D, 600D, 60D ).
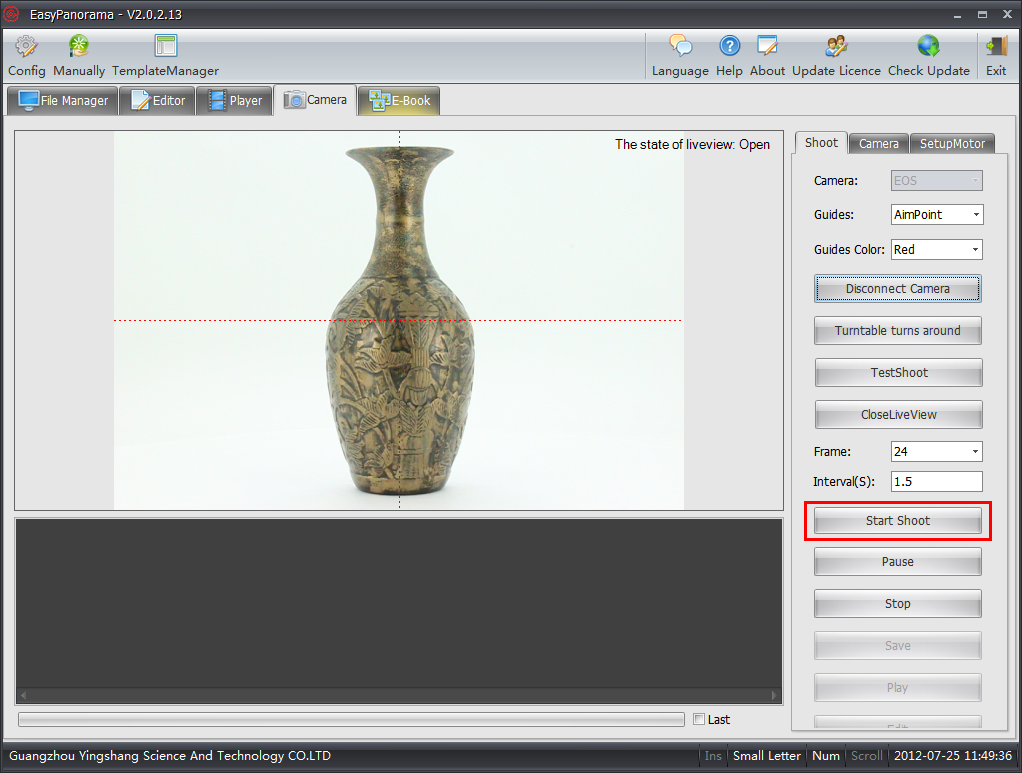
The preview of the object will be displayed in the live view frame during shooting, you can double click the previewed picture to have a detailed view.
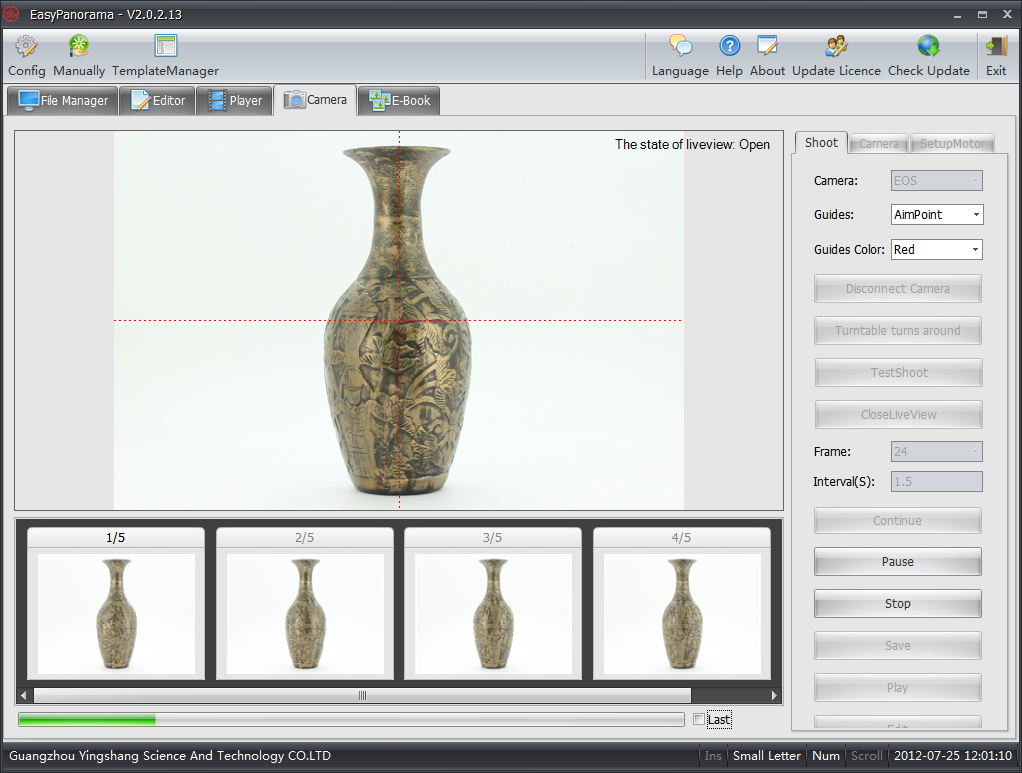
Notice:
If you find out some angle images are not ideal after shooting achieved, you can right click these angle images and select "Reset shooting" ,the software will reshoot these angle images automaticlly.
Ⅲ.Save
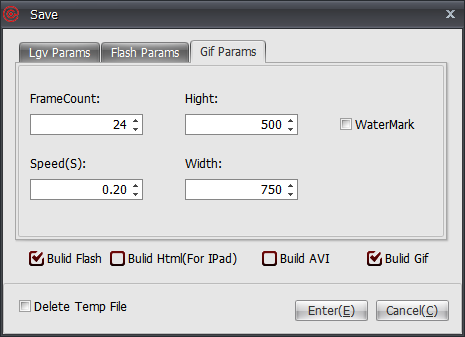
"Save" button after finishing automaticlly photos taking, enter a animation name in the pop-up dialog box, you can set the saving paramter. You can also bulid a animation format as you want by ticking corresponding location.
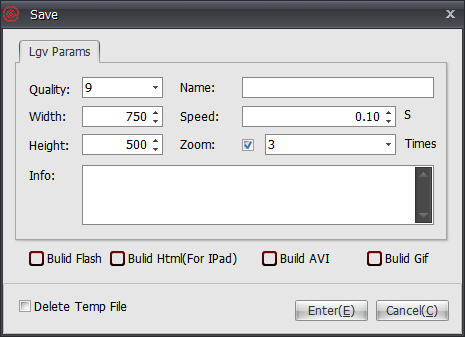
【Build Flash】:The format is '*.swf'. Can freely use the mouse to drag. But it needs to be installed Adobe Flash Player (Download Flash Player). In fact, flash can run (not supported by iOS) on Windows, MAC, Android.
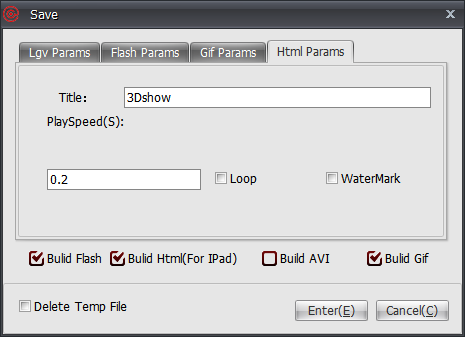
【Build Html(For IPad)】:The format is '*.html'. Can freely use the mouse to drag. Html5 different with Flash is that it can be applied to any system (including iOS), do not need to install any plug-ins, we can use the browser to playback Html animation.
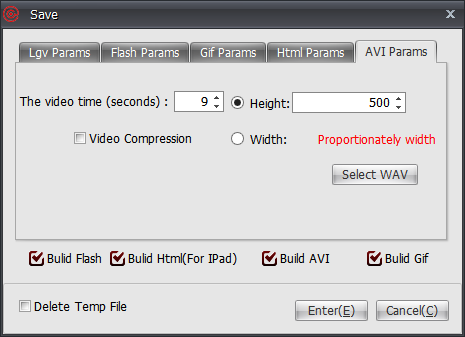
【Build AVI】:The format is '*.avi'. It is one of the more common video formats. Can be uploaded to a third party website platform, such as eBay and youtube.
【Build Gif】:The format is '*.gif'. Its use is similar with avi.
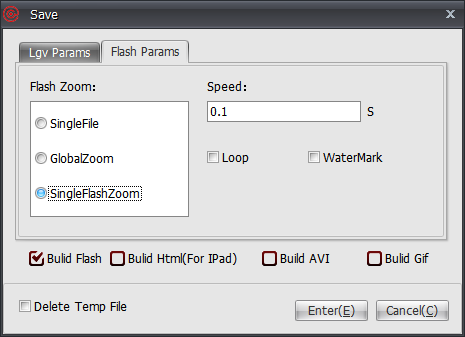
There are three enlarge options when you are saving fiash: SingleFile,GlobalZoom and SingleFlashZoom.
[SingleFile]: Means export the single no zoom single swf file.
[GlobalZoom]: In the Flash params means you can enlarge the whole image by moving the mouse wheel in the generated animation.
[SingleFalshZoom]: Single swf file. view the local detail by double clicking it.
Tick "WaterMark" you can choose to add "Local WaterMark" or "Net Water Mark" in the animation. And the watermark image format must be ‘*.png’.
GIF animations support Water Mask Text Setting.
HTML fomat anmiations are mainly used for iPad and iPhone, the effect of the animation is similar with the Flash.
AVI params can set the video time and add the wav background music.
At last,click "Yes" to save animations. It will pop-up a bubble box in the bottom right conner after software saved, you can not only watch the animation file directly by clicking the bubble box, but also watch the animation in the "File Manager".
Notice:
1.If you want to save the animation to specified directory, please find the pinion icon in the "File Manager".
2.LGV is propritary format of the Automatic 3D Imaging Software, it only can be open and edited with 3D automatic imaging software.